
🧵 Textile chain
Move fibre through the processing recipes, crafting stations and inventory workflow instead of stockpiling every drop.
Check the recipe inputs, gather them during the next base or exploration loop, process one batch, and store the output beside the armour or crafting station that consumes it. Confirm the result appears in the journal and note any change to the source or station.
Match the textile to the station
The loom harness has a concrete placement limit: it must be within 9 metres of a loom, and one harness supports only one loom. If it sits between two looms, only the closest one receives the extra slot. The recipe is learned after iron ore has been collected and smelted into iron bars, so mining iron first can be the missing unlock when the harness is absent from the build menu.
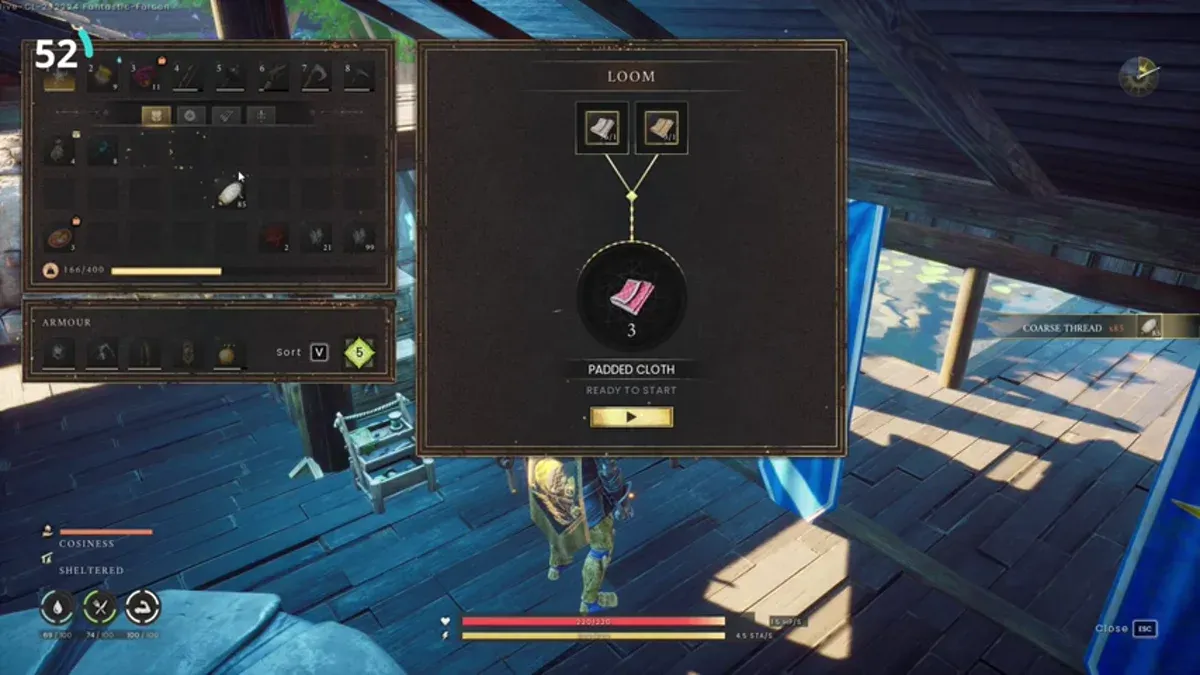
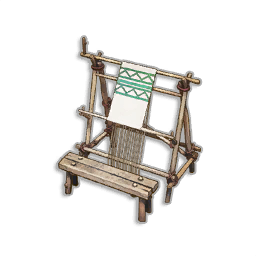
The Loom produces rough, wool and mystic cloth, while a Loom Harness unlocks additional textile tiers. It also needs a roof to function. Check the input fibre or thread, the station upgrade and the roof before gathering more material.
Process one batch before collecting a large stockpile. If the loom does not start, check the roof and station state first; if the recipe is unavailable, check the unlock or intermediate thread; if the output is wrong, compare the selected recipe rather than assuming the source fibre changed. Store each tier beside the armour or crafting station that consumes it.
Troubleshoot the textile chain in order
A textile route has four possible failure points: the raw source, the thread recipe, the Loom or Tannery, and the station’s operating condition. A Loom produces several base cloth types, accepts a Loom Harness upgrade and needs a roof. Start with the smallest output shown in your recipe panel and check each point in that order.
Keep coarse thread, wool thread, cloth and upgraded cloth in separate storage positions because their names can look similar while their uses differ. If the station accepts the input but produces nothing, check the roof or fuel condition; if the recipe is not visible, check the bronze-bar or skill progression; if the output is not accepted by the target craft, return to the target recipe and compare the exact tier. Only scale the gathering run after one complete input-to-output test succeeds.
Textile sources that remove the first bottleneck
| Material | Source | Region | Processing route |
|---|---|---|---|
| Flax | Flax Plant | Bramblemead Valley and Stormtouched Highlands | 1 Flax → Coarse Thread at a Loom |
| Coarse Animal Fur | Kebbit or Giant Rat | Bramblemead Valley and Whispering Swamp | 3 Fur → Coarse Thread at a Loom |
| Fleece | Ram or Sheep | Fractured Plains and Stormtouched Highlands | Wool Thread at a Loom |
| Soft Animal Fur | Wolf or Dire Wolf | Fractured Plains | Wool Thread at a Loom |
| Swamp Weed | Swamp Weed | Bloodblight Swamp | Swamp Thread at a Spinning Wheel |
These are the local source-to-station records for the first textile bottlenecks. At a Loom, convert 1 Flax or 3 Coarse Animal Fur into Coarse Thread; follow the journal for later cloth tiers.
Check the source table above, then check the Loom’s operating condition and the recipe before farming a large stack. If the output is missing, the likely block is source tier, Loom unlock/upgrade, or a different thread tier—not simply “more cloth needed.”
The textile loop is ready when
Before processing a full batch, confirm the raw fibre, thread, target cloth tier, Loom upgrade and operating conditions. Run one test batch, then decide whether you need to gather more, build a roof, unlock the station or choose another recipe.